Email Branding
By default, transactional emails from the platform (account invites, password resets, appointment confirmations, notifications, and more) are sent from a managed system address, using your account’s branding. On a white-label account that address is brand neutral: your brand is the sender name, and neither the sending address nor the links in the email name the platform.
If you’re running an agency, White Labeling lets you brand those emails to match the rest of your customer-facing experience.
What You Can Customize Today
How to get there: Settings → Advanced group → White Labeling, then scroll to the Email card. This section only appears on plans that include white labeling (the Agency and Agency Unlimited plans, and the AppSumo tiers that include it).
Emails automatically pick up the logo and primary color you’ve already set on the White Labeling page. The email-specific pieces you configure here are the default language and the footer:
- Default language — the language the first emails go out in, before a new client has picked one of their own. The same setting also puts your domain’s sign-in, password and signup pages in that language for new visitors. See Email Language & Templates and White Labeling.
- Footer tagline — a short line of text shown at the bottom of every platform email (for example, your agency’s slogan or a one-line description).
- Footer links — up to 4 labeled links (label + URL) shown alongside the tagline, useful for things like your support page, terms, or a booking link.
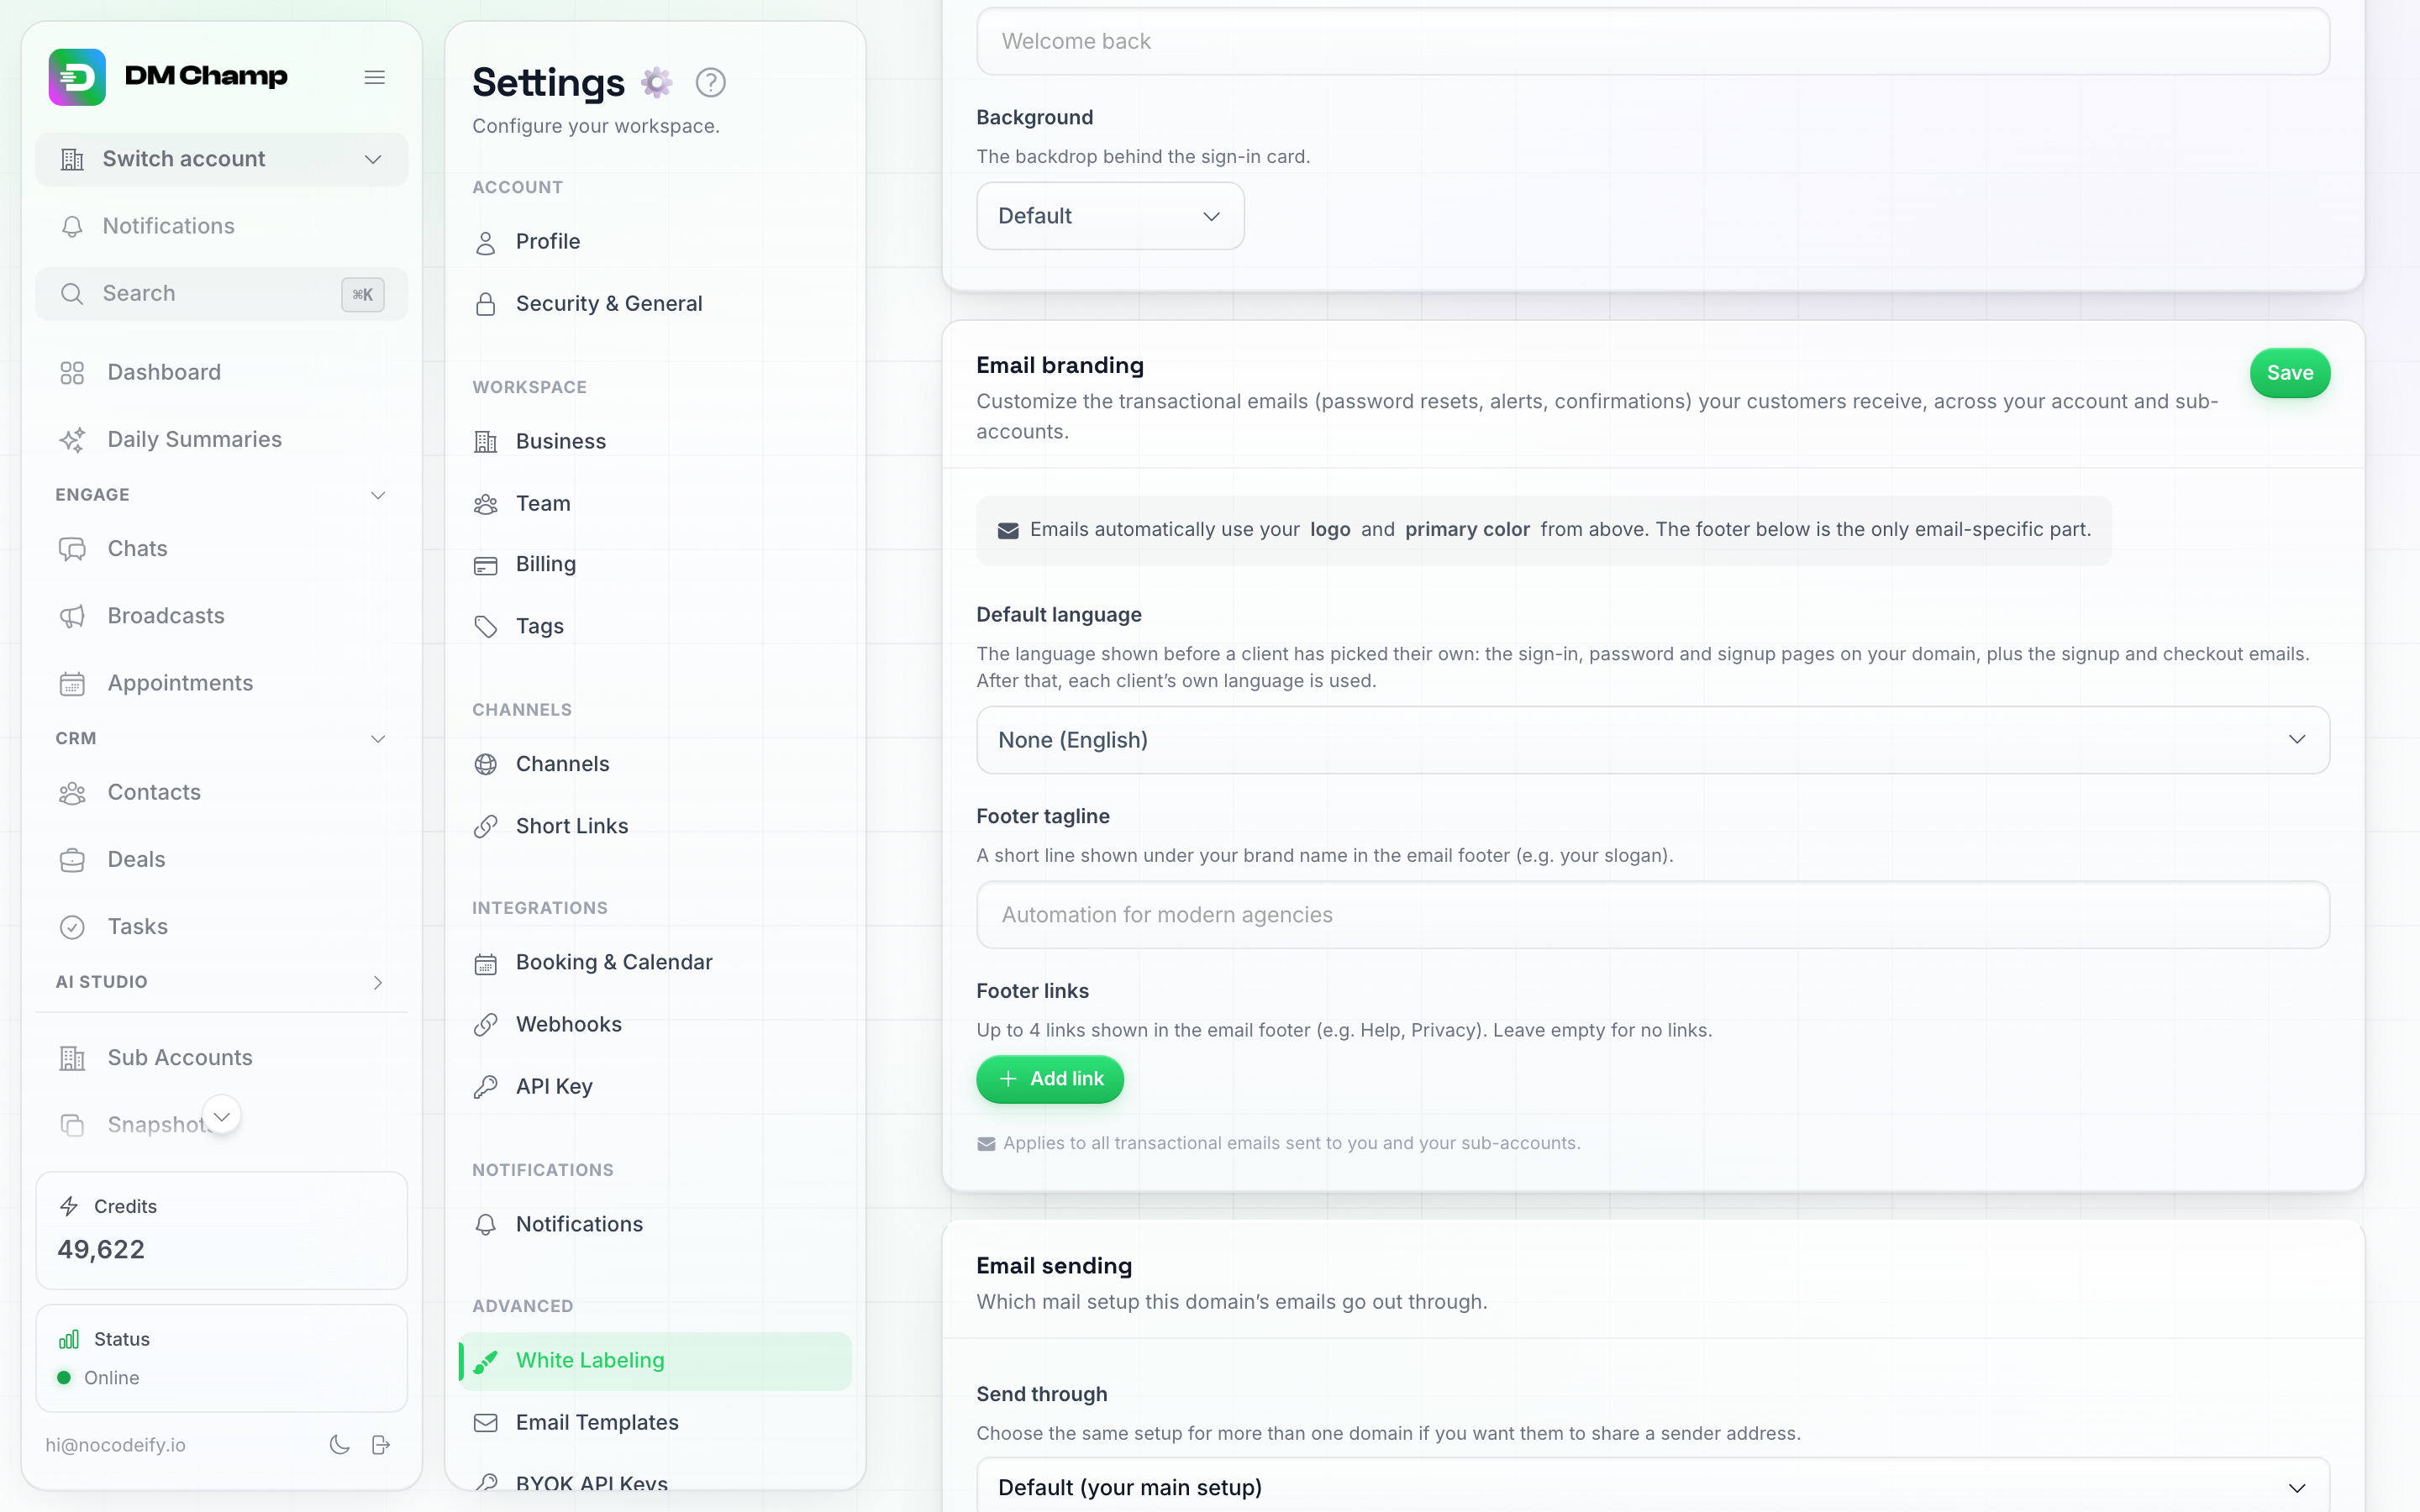
The Email branding card, further down the White Labeling page — logo and color come from the settings above it. This card covers the default email language and the footer.
Fill these in and click Save. Every transactional email your account or your sub-accounts trigger picks up the change automatically — no per-recipient setup.
Branding is the look. If you want to change the wording of an email — or write a version for one particular language — that’s a separate page: see Email Language & Templates.
Sending From Your Own Domain
You can route the email delivery itself through your own provider — so messages are sent from [email protected] with your own SPF/DKIM records and bounce handling, rather than the platform’s managed sending address.
This lives on the White Labeling page: each of your white label domains has an Email sending card where you connect Mailgun or any SMTP provider (Postmark, SES, SendGrid, Resend, or your own mailbox), name the setup, and choose which domain sends through it. See Email Sending Per Domain for the full walkthrough.
Connecting Mailgun
Open the Email sending card, click Connect a mail setup, and choose Set up Mailgun. Fill in:
- Mailgun API key — the sending key from your Mailgun account.
- Sending domain — the verified sending domain (for example
mail.yourdomain.com). - Region — US or EU, matching where your Mailgun account was created. The same key only works against one region.
- From email — the address that should appear in the From field (for example
[email protected]). - From name (optional) — the friendly name shown alongside the address (for example
Acme Support). - Reply-to address (optional) — where a reply to one of these emails should land (for example
[email protected]). Leave it empty and replies go to your account’s login email, which is what your clients see in the Reply-To header — so set this if you’d rather not expose that address.
Then click Save & test. The platform runs a real check against the Mailgun API to confirm the key and domain combination works, then sends a test email to your account email so you can confirm delivery straight away. If anything is off (wrong region, unverified domain, invalid key) you get a clear error and nothing is saved until it’s fixed.
Connecting SMTP
Same card, but choose Set up SMTP. Fill in:
- SMTP host — the SMTP hostname (for example
smtp.postmarkapp.com). - Port — usually
587or465. TLS is detected automatically from the port (465uses implicit TLS, everything else uses STARTTLS), so there’s nothing to set by hand. - Username — your SMTP user or API token name. For EmailIt this is the literal word
emailit, not your email address and not your API key. - Password — your SMTP password or API token.
- From email — the sender address (for example
[email protected]). - From name (optional) — friendly name for the From header.
- Reply-to address (optional) — where a reply to one of these emails should land. Same behaviour as on Mailgun: empty means replies go to your account’s login email.
Then click Save & test. The platform opens a real SMTP connection and authenticates with what you entered before saving, then sends a test email to your account email. If the host is unreachable, the port is wrong, or authentication fails, you get a clear error and nothing is saved until it’s fixed. Passwords are encrypted before being stored — the plaintext value is never written to logs or anywhere else.
Testing and removing a setup
Once a setup is saved, the card shows a Verified status once a test has succeeded. Click Send test any time to re-run it — worth doing whenever you change DNS records or rotate credentials. The test goes from your configured From address to your account email, and reports back either Test successful or Test failed with an explanation (rejected sender, authentication issue, unreachable host). Check your inbox to confirm it actually arrived from the address you expect; if it lands in spam, your SPF, DKIM, or domain reputation needs attention.
If a real email fails to send through your setup, the card switches to Test failed with the provider’s error, and that email is not sent from the managed default address instead. Only sign-in, password reset, verification and team invite emails still go out through the managed sender, so nobody gets locked out. Click Send test to see the error, fix it with your provider, and emails go out from your own address again.
Click Remove and confirm to drop the setup and go back to the managed default sender. Emails switch back immediately, your encrypted credentials are deleted (you’ll re-enter the API key or password if you reconnect later), and nothing in flight is lost.
Need Help?
If you have questions about email branding, or a compliance requirement around where transactional email originates from, contact support and we can help work through it with you.